FOOD PRESERVATION
Food preservation is the process of keeping food safe and fresh for a long time, and it is the foundation of any reliable emergency food supply. In a disaster, a power outage, or during supply shortages, having food that lasts can mean the difference between comfort and uncertainty.
By using proven food preservation methods, you can store meals and ingredients that stay good for months or even years without losing quality. This guide covers the most effective techniques for long-term emergency storage, including stockpiling non-perishables, canning, dehydrating, freezing, fermenting, and root cellaring. Each section includes simple steps and practical tips so you can protect your emergency food supply, reduce waste, and keep your family well-fed no matter what happens.
1. Building a Food Stockpile with Long-Lasting Foods
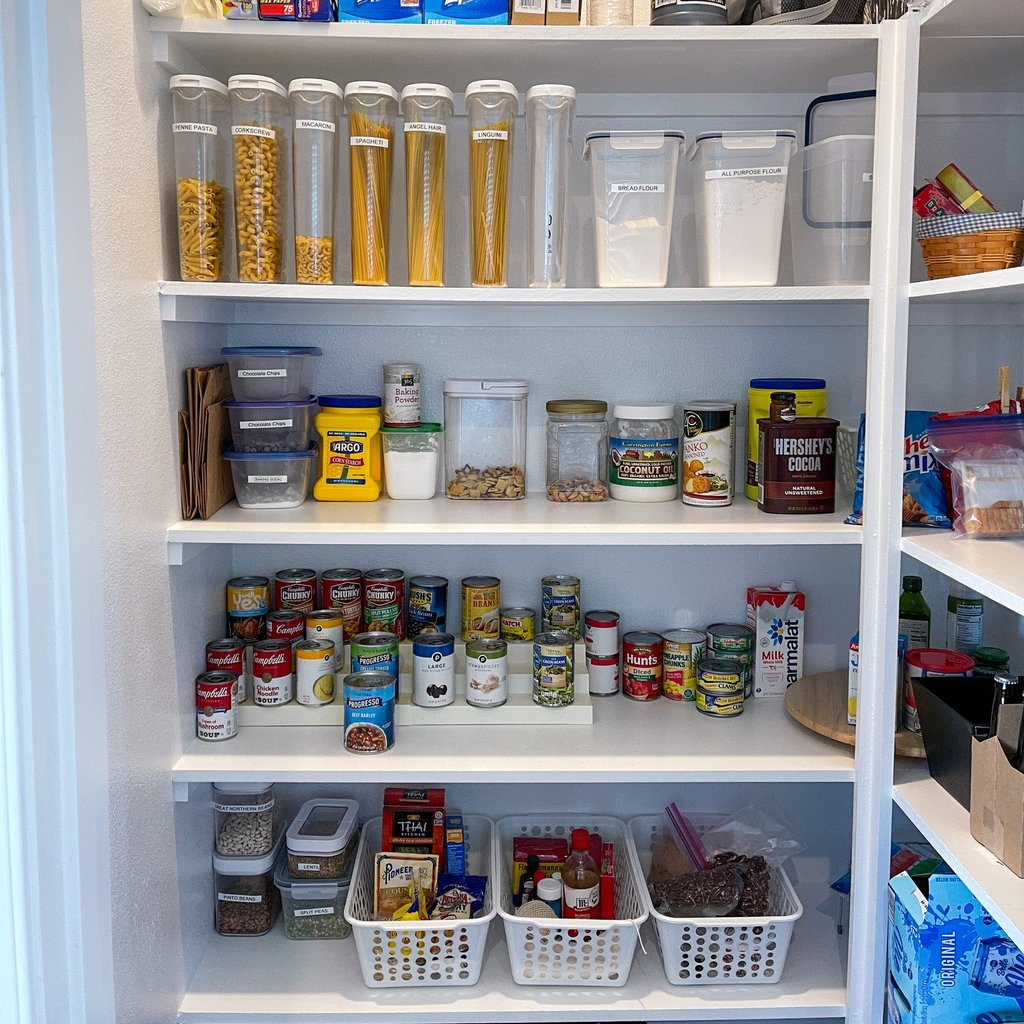
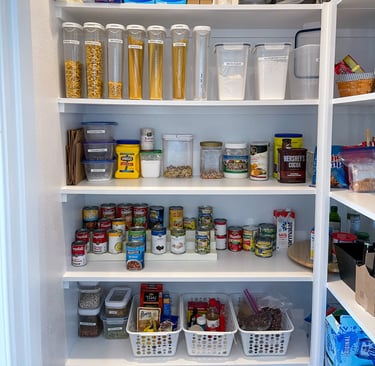
One of the easiest ways to start preparing your food supply is by collecting non-perishable items, foods that don’t spoil quickly, and don’t require a fridge or freezer. These are perfect for emergencies because they last a long time and are simple to prepare.
✅ Great Foods to Stock Up On:
Canned meats, fruits, and vegetables
Dried beans, rice, and pasta
Powdered milk and canned soups
Freeze-dried meals
Peanut butter and honey
Trail mix and energy bars
Oats, quinoa, and lentils
Smart Tip: Each time you shop for groceries, buy one or two extra non-perishable items. Over time, this adds up without putting too much pressure on your budget.
Real Example: During Hurricane Katrina, families who had stocked up on canned and dried foods were able to feed themselves without needing much outside help in the early days.
✅ What to Do:
Use the oldest food first (this is called FIFO: First In, First Out).
Keep a simple list of what you have and when it expires.
❌ What to Avoid:
Don’t store food in hot or damp places—heat and humidity make it spoil faster.
Don’t buy foods your family won’t eat—it’s a waste of space and money.
Store your stockpile in clean, airtight containers and label everything clearly. Being organized makes it easier to stay prepared and avoid waste.
If you want a fast and reliable way to build your food supply, a pre-made emergency food kit is a great choice. These kits are packed with a variety of meals that last for years and are easy to store.
✅Top Recommendation:
Augason Farms 30-Day Emergency Food Supply: This kit includes a mix of breakfast, lunch, and dinner options and can last up to 25 years on the shelf. It’s perfect for anyone starting their emergency stockpile.
➕ Great Add-On:
Mountain House Freeze-Dried Meals: These meals are lightweight, super easy to prepare (just add water), and ideal for quick nutrition.
Why These Matter: Kits like these help you skip the guesswork. They're made to last, portioned for emergencies, and can give you peace of mind knowing you have food ready whenever you need it. Keep one kit at home and consider storing a second in your car or bug-out bag for extra security.
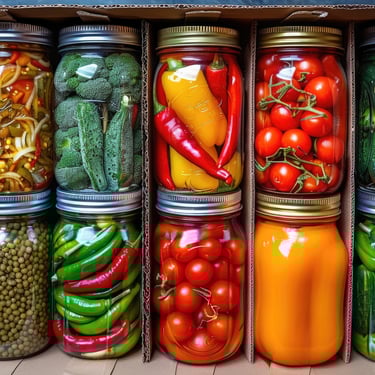
2. Canning and Pickling: Easy Ways to Make Food Last Longer

Canning and pickling are two simple and powerful ways to preserve food at home. They help your food last much longer and often make it even tastier!
✅What Is Canning?
Canning uses heat to seal food inside jars so no air gets in. This keeps the food from going bad. There are two main ways to can food:
Water Bath Canning
Boils jars in hot water to seal them.
Best for acidic foods like tomatoes, pickles, fruit, and jams.
Pressure Canning
Uses a special pressure canner machine.
Needed for low-acid foods like meats, green beans, and corn.
A little more advanced, but perfect for serious prepping.
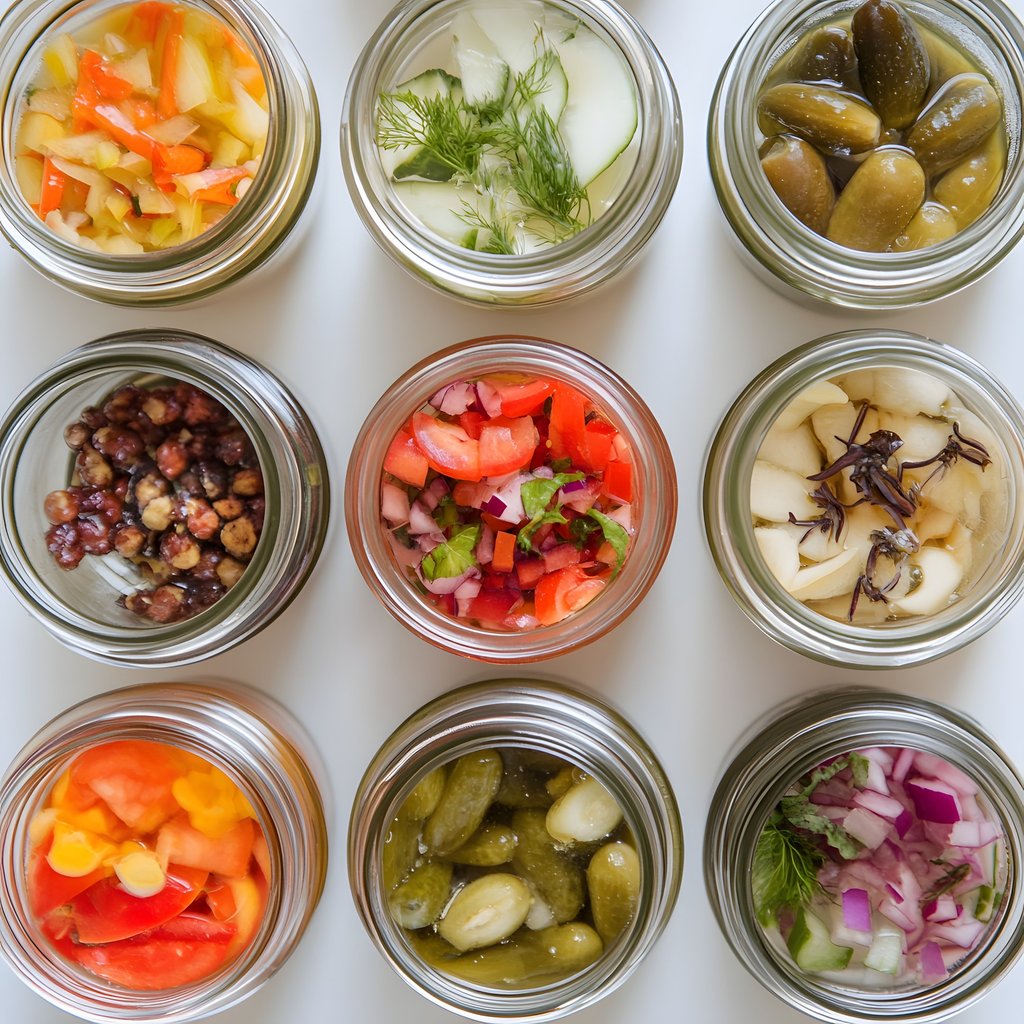
✅What Is Pickling?
Pickling means soaking food in vinegar and salt (called brine).
This brine stops bacteria from growing.
It gives foods a tangy, sour, or even spicy flavor.
Pickled foods can last for months when stored right!
✅Easy Steps for Canning:
Wash and sterilize your jars
Prepare your food and pack it into the jars
Seal the jars and heat them (with boiling water or a pressure canner)
Label with the name and date
Store them in a cool, dry place
✅Best Foods to Can or Pickle:
Tomatoes (whole, sauce, or salsa)
Peppers, cucumbers, and carrots
Jams, jellies, and fruit spreads
Meats and beans (pressure canning only)
✅Helpful Tips:
Start with easy water bath canning, like jam or tomatoes
Move to pressure canning once you feel confident
Keep a notebook to track what you made and when
Real-Life Scenario: After harvesting a large crop of tomatoes, you can them to ensure your family has access to nutritious sauces and stews during winter. One homesteading family reportedly saved over $500 per year by canning their own vegetables.
✅Recommended Book:
"Ball Complete Book of Home Preserving" – A comprehensive guide to canning and preserving.
✅Canning Kit
Ball Canning Supplies Starter Kit – Includes essential tools for beginners
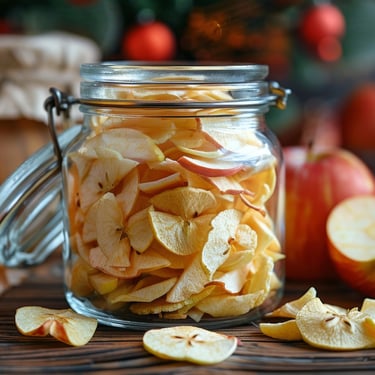
3. Dehydrating Food
Dehydrating removes moisture from food, preventing bacteria and mold growth. It’s an excellent way to preserve fruits, vegetables, and meats.
There are several ways to dehydrate food, including using an electric dehydrator, an oven, or other methods:
A self-contained device with a heat source, ventilation, and trays for food. Electric dehydrators are efficient and can dehydrate multiple foods at once. Place food in a single layer on the trays to allow air to circulate.
Set the oven to a temperature between 140°F and 170°F, place food in a single layer on a baking sheet, and leave the door slightly open.
Sun drying
A traditional method that involves laying food on a tray or screen and covering it with another screen. Sun drying is not practical in humid or cold climates.
Air drying
A simple and inexpensive method that involves hanging food in a well-ventilated area. Air drying is ideal for herbs and spices, but not for fruits and vegetables with high moisture content.
Can be used to dehydrate herbs.
Here are some tips for dehydrating food:
Before dehydrating meat, cook it to a minimum internal temperature of 160°F for beef and 165°F for poultry.
To rehydrate legumes, cook them a second time.
For best results, choose high quality produce that is ripe.
To prevent spoilage, choose lean or extra-lean meat.
To help ground beef rehydrate, add 1/2 cup of bread crumbs for every 1 lb. of meat.
Store dehydrated food in a cool, dry, and dark place.
Check periodically for moisture and mold
Real-Life Scenario: After a bulk purchase of fruits, dehydrate excess to create healthy, long-lasting snacks. A prepper family in Texas relies on dehydrated vegetables for stews during winter storms.
Do: Store dehydrated food in airtight containers with oxygen absorbers.
Don’t: Over-dehydrate, as this can affect flavor and texture.
Recommended book:
Complete Dehydrator Cookbook: How to Dehydrate Fruit, Vegetables, Meat & More
Top Pick: Food Dehydrator
Nesco Gardenmaster Food Dehydrator – A reliable dehydrator with ample space and adjustable settings.
Add-on:
Oxygen Absorbers for Food Storage – Essential for long-term storage.
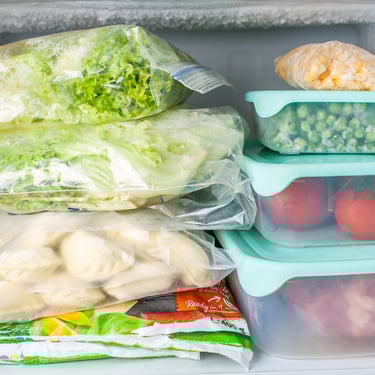
4. Freezing Foods Properly
Here are some tips for freezing food properly:
Cool food before freezing: Freezing hot food can raise the freezer's temperature and cause other foods to defrost. To cool food faster, you can divide it into smaller portions.
Use airtight containers: Use airtight metal or plastic containers or vacuum-sealed bags to reduce the risk of freezer burn.
Label food: Label containers with the food name, date, and any instructions.
Freeze in realistic portions: Use smaller containers, no more than 4 inches deep, to maintain quality and prevent ice crystals.
Keep freezer full: A full freezer retains cold better than an empty one, but don't jam pack it.
Avoid refreezing thawed food: Food poisoning bacteria can grow in frozen food while it's thawing. Keep defrosted food in the fridge until you're ready to cook it.
Check the freezer temperature: Maintain the freezer temperature at 0°.
Clean and maintain the freezer: Frost and ice build-up can affect efficiency.
Dedicate one freezer drawer for emergency food items: To ensure easy access during a crisis.
Real-Life Scenario: After a hunting trip, freeze portions of meat to provide protein during emergencies. One Alaskan hunter stores enough frozen fish to sustain his family through harsh winters.
Top Pick: Vacuum Sealer
FoodSaver Vacuum Sealing System – Keeps food fresh up to 5x longer by preventing freezer burn.
Add-on:
Vacuum Sealer Bags – Durable bags designed for long-term freezing.
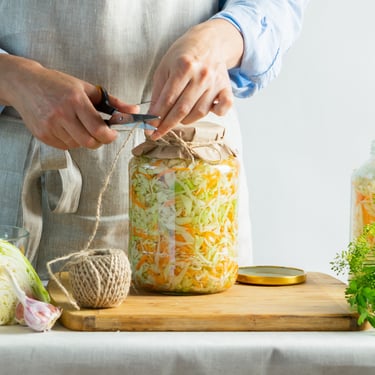
5. Fermentation for Long-Term Storage
Food fermentation is a natural process that uses microorganisms to convert carbohydrates into acids or alcohol. This process gives fermented foods a distinct tartness and zest, and the acids and alcohols act as a natural preservative.
Best Foods to Ferment:
Cabbage (sauerkraut)
Cucumbers (pickles)
Carrots and radishes
Kimchi
Tip: Ferment foods in small batches to experiment with different flavors and methods.
Real-Life Scenario: After a power outage, fermented vegetables remain edible and nutritious when refrigerated foods spoil. One off-grid homesteader relies on fermented vegetables for winter sustenance.
Recommended Book:
"The Art of Fermentation" – A detailed guide to fermenting all types of foods.
Top Pick: Fermentation Kit
Masontops Complete Mason Jar Fermentation Kit – Ideal for fermenting at home with ease.
6. Root Cellaring
Root cellaring is an age-old method of storing vegetables and fruits in a cool, dark environment without electricity.
Best Foods for Root Cellaring:
Potatoes
Carrots and beets
Apples and pears
Cabbage and onions
Tip: Create a simple root cellar in a basement or insulated shed.
Real-Life Scenario: A family in Vermont relies on root cellaring to store their fall harvest, keeping them stocked with fresh produce through winter.
Food preservation is an essential skill for long-term preparedness and survival. By mastering these techniques and investing in the right tools, you ensure that your family remains well-fed and secure during crises. Start small, build your knowledge, and gradually expand your food storage capabilities. Your future self will thank you for the peace of mind and resilience you've cultivated.
Disclaimer:
This site contains affiliate links to Amazon. As an Amazon Associate, I may earn a commission from qualifying purchases. Your support helps keep the site running, with no extra charge to you.
The information provided on this website is for general informational purposes only. While we strive to ensure accuracy and reliability, the content is not intended as professional advice. Always consult with qualified professionals for specific needs or situations.